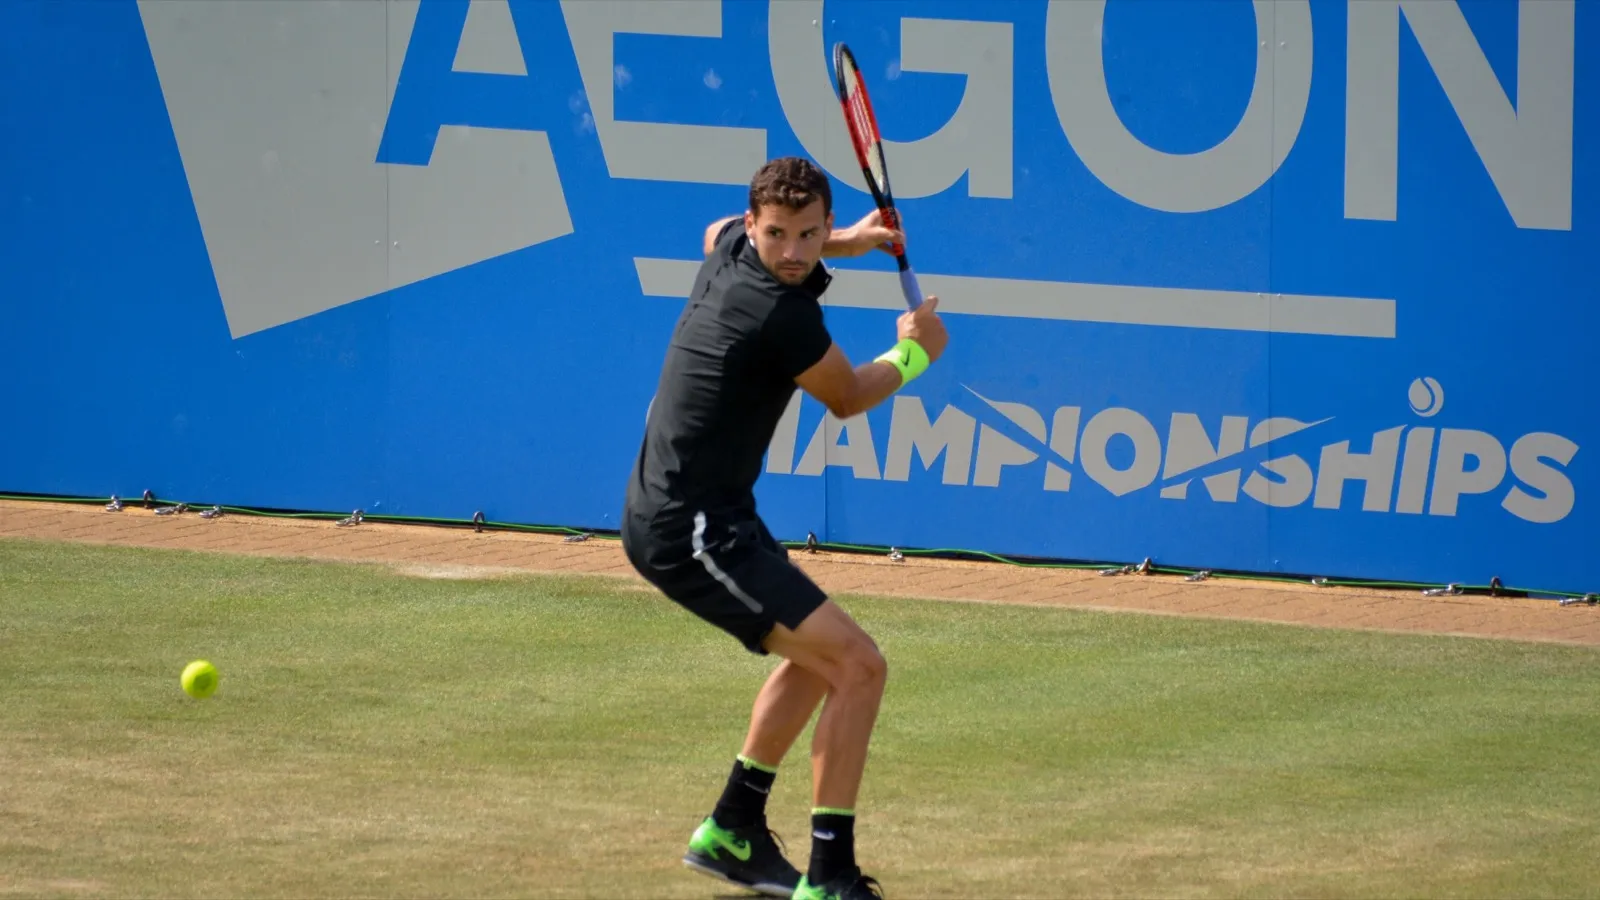
On TV, the one-handed backhand looks like the easiest shot in tennis. A pro turns, swings once and the ball fizzes crosscourt while they hold a finish that belongs on a poster. There’s no visible effort, which is exactly why so many of us try it.
Then you try it on a Tuesday night against someone who hits a heavy ball to your backhand, and it falls apart. The ball arrives a fraction late, or a bit too high, and one arm on its own can’t fix it. I love this shot, and I still pull it out now and then even though I mostly hit two hands these days.
For a fun look at the shot, the ATP Tour got some of its players to try single-handed backhands.

The shot is hard because a lot has to happen in the right order, and there’s no second hand to cover for a step that went wrong. So I’ve broken it into six frames. They follow the basic shape most coaches teach, laid out so you can check your own swing one piece at a time.
The six frames
The diagram shows a right-handed player side-on, with the net to the left. If you’re a lefty, flip it in your head. Yellow marks the key move in each frame, and in frames 3 to 5 it’s the path of the racket.
- 1 · Grip Eastern backhand grip. Other hand on the throat.
- 2 · Turn Shoulders first. Back briefly to the net.
- 3 · Takeback Other hand guides the racket back, then lets go.
- 4 · Contact Contact in front. Arm straight.
- 5 · Finish Arms open. Chest stays sideways.
- 6 · Footwork Small steps to set up, then step in.
Each section below goes with one frame. Read them in order the first time, then come back to whichever frame your backhand keeps breaking down in.
Grip: eastern backhand, other hand on the throat
Start with the grip in frame 1. Most coaches teach the eastern backhand grip for a one-hander. If you picture the handle as an octagon, a right-hander puts the base knuckle of the index finger on the top bevel. Wikipedia’s grip page calls it bevel 1. That grip makes it easier to meet the ball with a square racket face without twisting your wrist.
To check it, hold the racket out in front, edge down, and put your knuckle on top of the handle. If your palm is mostly on top of the grip, you’re close. If your palm is behind the handle, as it would be for a forehand, you’ve got a forehand grip and the face will open up on you.
The other hand matters just as much. Rest it on the throat of the racket, where the frame splits into a V. It holds the racket while you change grips, and in the next frame it does most of the work of taking the racket back. Get used to catching the racket at the throat every time you recover to the ready position. It feels fussy for a week or so, and then you stop noticing.
The turn: shoulders first
The turn in frame 2 decides most one-handers, and it happens before you’ve even thought about swinging. As soon as you see the ball coming to your backhand, turn your shoulders. Your feet and hips follow, but the shoulders lead.
Turn further than feels natural. For a moment your upper back should face the net, or close to it. A two-hander can get away with a smaller turn because the second arm adds power. With one arm, most of your power comes from the turn.
Let the hand on the throat do the turning. Coach Adri, in a Tennisnerd session on the shot, describes using the non-hitting hand to turn the shoulders and start the unit turn, with the hitting hand staying passive. If your hitting arm yanks the racket back on its own, the shoulders tend to stay put and you end up swinging with just the arm.
Takeback: the other hand guides, then lets go
Frame 3 carries on from the turn. The other hand keeps guiding the racket back, with the racket head up, until you’re coiled and ready. The dashed line in the diagram shows where the racket head goes next: it drops below the ball so you can swing up through it for topspin.
Then the other hand lets go. That’s the moment the shot becomes a one-hander, and it’s surprisingly easy to get wrong. Let go too early and the racket drifts off course. Hang on too long and you can’t swing freely. Aim to release as the racket starts forward, and let the free arm head back the way it came.
Keep the takeback compact if you’re a club player. Big, looping takebacks look great on the pros, but they give you more to time. Tennisnerd’s coach makes the same point: a shorter swing is easier to adjust when the ball comes at you with pace.
Contact: in front, arm straight
Contact is frame 4, and it’s the part most people get wrong without knowing it. The one-hander meets the ball further in front than a two-hander, well ahead of your front foot. If you take a two-hander late, the second arm can still push the ball over. A late one-hander usually goes into the net or floats long.
At contact the hitting arm should be straight, or very nearly. That straight arm is what lets the shoulder turn transfer into the racket. If your elbow is bent and pointing at the net, the ball has got too close to your body.
Height matters too. The sweet spot is somewhere between your waist and your shoulder. Anything above that gets hard very quickly, and that’s where footwork comes in.
Finish: arms open, chest stays sideways
The finish in frame 5 is the poster pose, and it’s worth copying even if your backhand isn’t ready for a poster. The hitting arm swings up and out towards the net, finishing high. The other arm goes back behind you. Your arms open out like you’re about to give someone a very wide hug.
The detail people miss is the chest. It stays facing the side fence, even after the ball has gone. On a forehand or a two-hander you usually rotate round to face the net. On a one-hander, opening up the chest early tends to drag the racket across the ball and send it wide. Holding the chest sideways keeps the swing going towards your target.
If your finish is low and wrapped round your body, it usually means something went wrong earlier: a late contact, or a turn that never happened.
Footwork: why one hand needs more of it
Frame 6 has a stick figure doing small steps, which doesn’t look like much. It’s the frame I’d point to if you asked me why I switched.
Every frame above assumes the ball arrives in your strike zone: in front of you, at a comfortable height, with time to turn. Footwork is how you make that true. A two-hander can absorb a ball that’s slightly too close or too high, because the second hand adds strength and control. A one-hander mostly can’t, so your feet have to put you in the right place first.
I’m on the shorter side, and as a recreational player my footwork and preparation were mostly not good enough. Opponents worked that out and fed me high balls. Most of my backhands ended up high, or I needed an emergency slice to neutralise the point or break up their rhythm. When I got stretched wide on the run I’d get there, but all I could do was slice it back, a low-quality shot. I got slower with age, keeping up with the footwork got harder, and I moved to two hands. It feels stable, like a reverse golf swing. I still miss the one-hander.
Split step as your opponent hits. Turn early, then use small adjusting steps to get the ball where you want it, which usually means moving back for a high ball so it drops into your strike zone. Then step in with your front foot towards the net as you swing. Small steps feel slow, but they’re how you get the distance right.
Watch it in motion
Six still frames can only show so much. Top Tennis Training’s lesson, with coach Simon Konov, goes through the grip first and then early preparation, the power position, and the contact point and finish. It’s a good way to see the whole swing run together at full speed.


One drill to take on court
You need a partner and a basket of balls. Ask them to stand at the net and feed gentle balls to your backhand at about waist height.
For each ball, catch the racket at the throat, turn your shoulders, hit, and then freeze at the finish for a two-count. While you’re frozen, check two things: is your chest still facing the side fence, and are your arms open? If the answer is yes to both, you probably made contact in front. If it’s no, the ball got too close.
Do ten balls, then swap. Once ten in a row feel solid, ask your feeder to put the next ten a step or two wider, so you have to move, set up with small steps and then hit. That’s where the footwork starts to matter, and it’s the version that’ll show up in a match.